You need to change your Apple ID country or region when you move from one country or region to another. Earlier, Apple had allowed anyone to change App Store location just to download some apps available in a particular country/region.
But now the thing has become difficult as you can choose the “None” option when you are on the Payment screen during the process. This means only genuine users can change the App Store country in iOS 11 on iPhone or iPad.
This modification of the App Store country or region on the iPhone and iPad requires some preparations. First and foremost, you need to check the billing address in your Apple ID account page; because if there is any discrepancy between the billing address and country region, you won’t be able to purchase any app, music, movies or any other contents from the App Store.
Second, if you own a credit card with an address in one country and your iOS device is set up in another country, there will be a major difference between the country and region.

Some Points to Ponder...
- First, use all the outstanding store credit on your Apple ID. Before you change your country or region, wait for the pending store credit refunds to process.
- Cancel your subscriptions like Apple Music, and wait until the subscription period gets over to change country or region on your iPhone or iPad. You also need to exhaust your memberships, pre-orders, iTunes movie rentals, or Season Passes.
- You need to update your payment method. For example, you can use only American credit cards to buy content from the US iTunes Store, iBooks Store, and App Store. So if you have changed your location, you need to get credit or debit cards for that new country or region.
- Back up your iOS devices to iTunes; probably, you need to downgrade your iCloud storage for time being until you move to the new country or region.
- You may not change your country or region if you are a part of a Family Sharing group.
- Apple may not allow re-downloading some contents you purchased from your original country or region.
How to Change App Store Country on iPhone and iPad in iOS 11 or iOS 10
Step #1:
Launch Settings on your iOS device.
Step #2:
Tap on [Your Name].
Step #3:
Tap on iTunes & App Store.
Step #4:
Tap on your Apple ID. (Make sure you are signed in with the Apple ID and Password that you use with iTunes Store)
Step #5:
Tap on View Apple ID.
Here you need to authenticate your Apple ID using Password or Touch ID or Face ID.
Step #6:
Tap on Country/ Region.
Step #7:
Now, you will be landed on Account Page, tap on Change Country or Region. (If prompted, Enter Apple ID Password).
Step #8:
Next, Choose your new country or region by tapping on it.
Step #9:
Read terms and conditions carefully and then tap on Agree from the top right corner.
Step #10:
Once again tap on Agree.
Step #11:
Here you are required to enter a valid payment method and enter your new payment information. (You can also choose none if you don’t want to enter a payment method)
Note:
As mentioned above, you are not allowed to select ‘None’ option in case you are not in the country/region you are creating an Apple ID for.
There are other situations when you can not select None when you edit your Apple ID payment information.
- If there is an unpaid balance or payment due
- If your subscription gets renewed automatically
- If you’re using the iTunes Store or App Store for the first time
- If you are a part of the Family Sharing group
- If you have changed your country or region
Step #12:
At last, enter your billing address details and tap on Next.
How to Change Country or Region from the Apple ID account page.
Step #1:
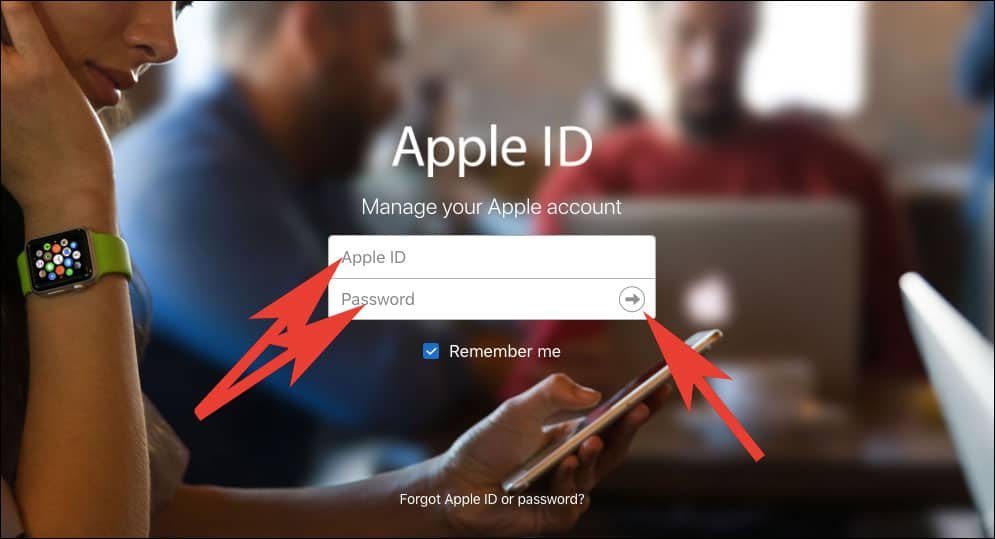
Sign in to your Apple ID account page.
Step #2:
If you have setup two-factor Authentication, you need to enter the code.
Step #3:
Go to the Account section and click on Edit.
Step #4:
Now, scroll down and choose your new country or region from the drop-down list.
Step #5:
Next, you will be prompted with a message, Click on Continue to Update.
Step #6:
Enter your new valid payment information and payment method details.
Step #7:
Finally, click on Save.
You May Also Like:
- Cannot Connect to App Store on iPhone and iPad
- App Store Icon Missing on iPhone and iPad
- How to Download Apps Using Face ID on iPhone X
- How to Make Apps Available for Pre-Order on App Store
- How to Restore Deleted Apps on iPhone and iPad from App Store in iOS 11
- iOS 11 Apps Not Downloading on iPhone and iPad
- iPhone Apps Crashing
- How to Speed Up Slow iPhone
- How to Get Refund for App Store Purchases on iPhone, iPad, and Mac
- How to Disable Red App Store Badge Icon on iPhone and iPad
- How to Stop AutoPlay Videos in the App Store
Which method of changing the App Store country or region do you find easy? Share your feedback with us on Facebook, Twitter and Google Plus.


