Your macOS High Sierra is exposed to a serious threat as any hacker or cyber goon can log in as ‘root’. The bug is first noticed by a Turkish developer named Lemi Orhan Ergin, who tweeted to Apple: Dear @AppleSupport, we noticed a *HUGE* security issue at MacOS High Sierra. Anyone can login as “root” with empty password after clicking on login button several times. Are you aware of it @Apple? This bug allows root user to set a blank password on your unlocked Mac. And to avoid any such issue, you need to enable root user on Mac.
Thankfully, Apple quickly took action and responded Mac users with a solution: “We are working on a software update to address this issue. In the meantime, setting a root password prevents unauthorized access to your Mac. ,” an Apple spokesperson told iMore.
What damage root can cause on your Mac?
The attacker can enjoy super-user access to your Mac. As per Apple’s guidelines, the Root User is supposed to be disabled on macOS. If a stranger has got physical access to your Mac, s/he can enjoy full access to your Mac by entering ‘root’ and hitting the login button repeatedly. You need to make sure that nobody can get access to your Mac even through screen sharing, VNC, or remote desktop.
How to Enable Root User on Mac in macOS High Sierra
Step #1: ON your Mac, click on Apple logo from the top left corner of screen; this will bring down Apple menu and you need to select System Preferences from the drop-down list.
Step #2: On System Preferences dialog box, click on Users and Groups.
Step #3: Now click on Lock icon from bottom left corner of box.
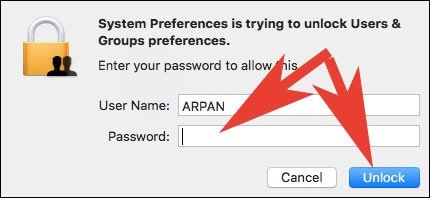
Step #4: You will be prompted to enter your username and admin password; enter the password and click on Unlock button.
Step #5: Next, you need to click on Login Option from left navigation; and then click on Join button next to Network Account Server.
Step #6: Click on Open Directory Utility button.
Step #7: Again, you need to click on Lock icon from the bottom left corner of the dialog box.
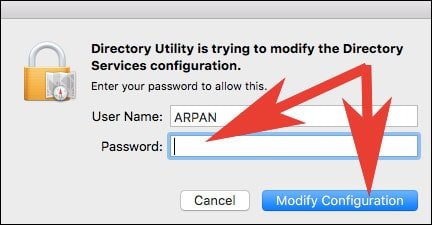
Step #8: You will be asked to enter your password again; type in your password and then click Modify Configuration button.
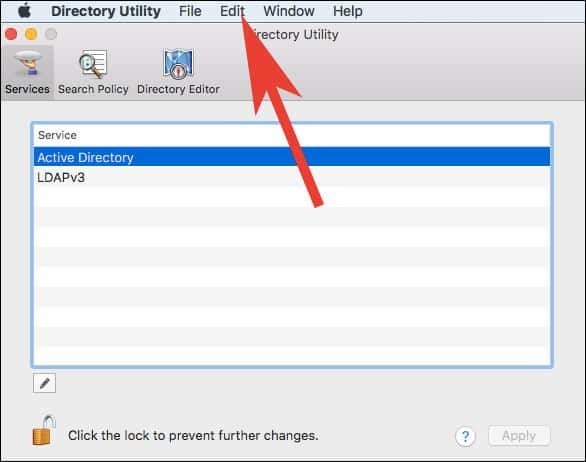
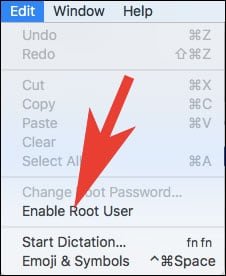
Step #9: Click Edit from the menu bar and next, click on Enable Root User.
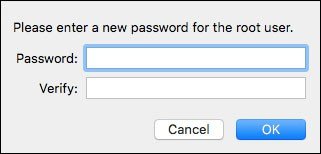
Step #10: At last, you have to enter and verify Root User Password. A strong password is recommended.
Alternatively, you can use command line to create Root User Password faster.
How to Create Root User Password on Mac via Terminal
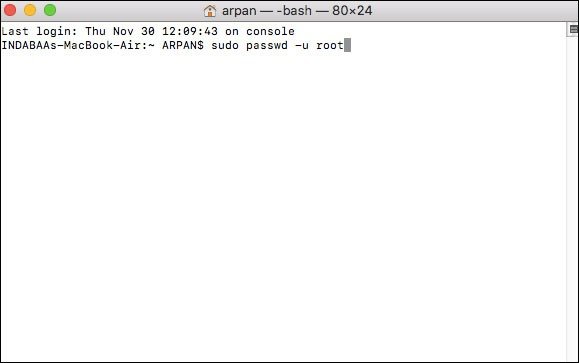
Step #1: Open Terminal: Launch Spotlight Search → Type Terminal→ Open it.
Step #2: Here, type the command: sudo passwd -u root.
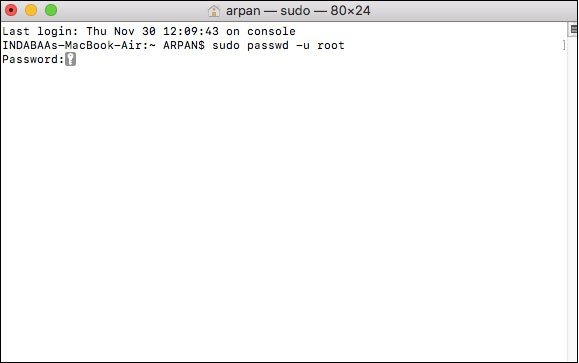
Step #3: Type in your Mac System password.
Step #4: Enter the password and then retype the password to confirm Root User Password.
You must not disable the Root User as this will leave password field blank and the attacker gets access to your Mac.
Explore More About Mac:
- How to Insert Tables in Notes App on Mac
- How to Use Type to Siri on macOS High Sierra
- How to Disable iPhone Calls on Mac and iPad
- How to Record FaceTime Call on iPhone and Mac
- How to Find a WiFi Password on Mac
- How to Check AppleCare Warranty Status on iPhone, iPad and Mac
- How to Pin Notes in Notes app on Mac
- How to Create a Partition on Mac
- List of Mac Keyboard Shortcuts
- How to Record Screen with Audio on Mac
Have you enabled root user on your Mac? Share your feedback with us on Facebook, Twitter and Google Plus


