Setting up Messages on Mac helps you stay connected with your friends, colleagues, and family in a convenient way; you can send and receive messages on your Mac, and it is so much fun to quickly type the text using all your fingers. Imagine how difficult it is to type messages on the small screen of your iPhone or iPad. But once you register Messages (or iMessage) on your Mac or MacBook Pro or Mac mini, you can quickly type your messages and send it to other users. Want to activate iMessage and setup text forwarding on your Mac? Check this simple guide on how to setup iMessage on Mac.
You can use Messages with Mac whether your computer is running OS X Mountain Lion and later OS X Yosemite, El Capitan or macOS High Sierra. If you wonder “what do I need to add my phone number to iMessage on Mac”, let me tell you that you need your Mac and your phone number. Thus it is your primary requirement to set up iMessage for Mac with a phone number. Let’s now enable iMessage on Mac.
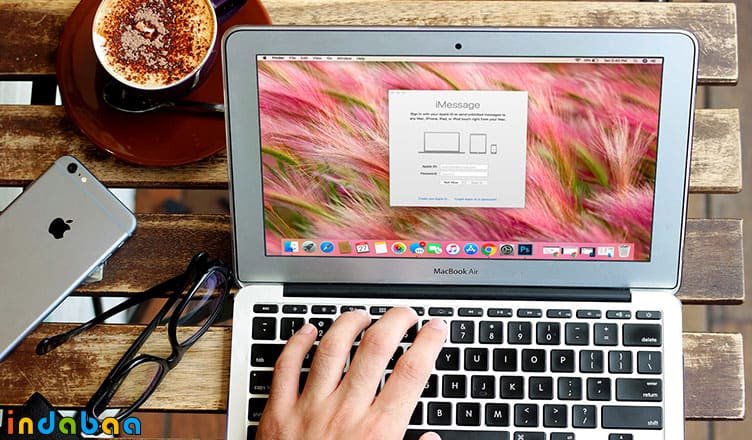
How to Setup and Use Message App on Mac
Quick Links:
- How to Setup Messages on Mac
- How to Start a Conversation from Message App on Mac
- How to Send Text Message from Mac
How to Setup Messages on Mac
Step #1: Open Message on Mac.
Step #2: Next, Enter your Apple ID and Password. (If you have set up two-step authentication for your Apple ID, then you need to enter the verification code).
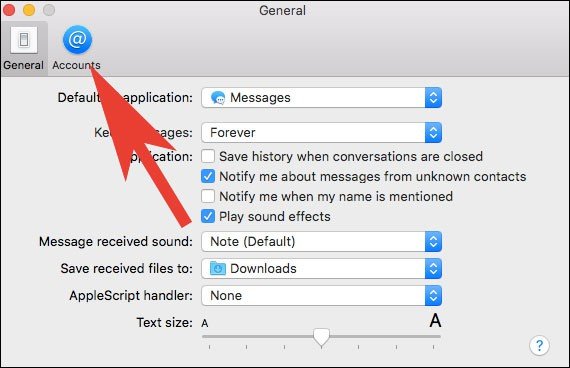
Step #3: Click on Messages from the menu bar.
Step #4: Click on Preferences.
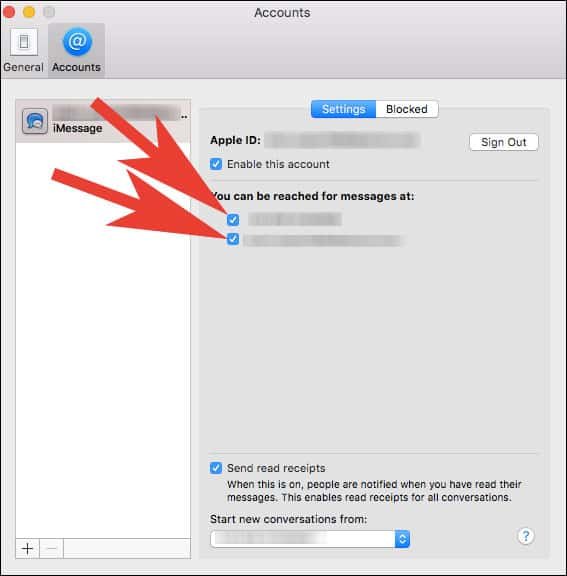
Step #5: Now, Click on Accounts tab.
Step #6: Choose the contact number and email Id at which you would like to be reached for messages.
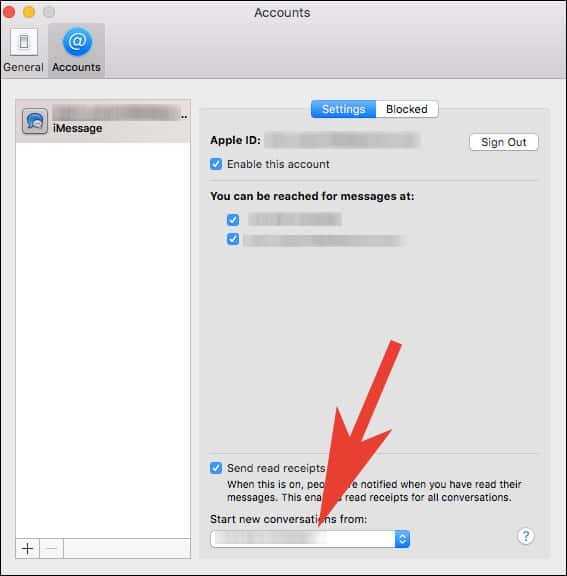
Step #7: Select the contact number or mail ID which your friends will see when you start a new conversation.
That’s it friends!
How to Start a Conversation from Message App on Mac
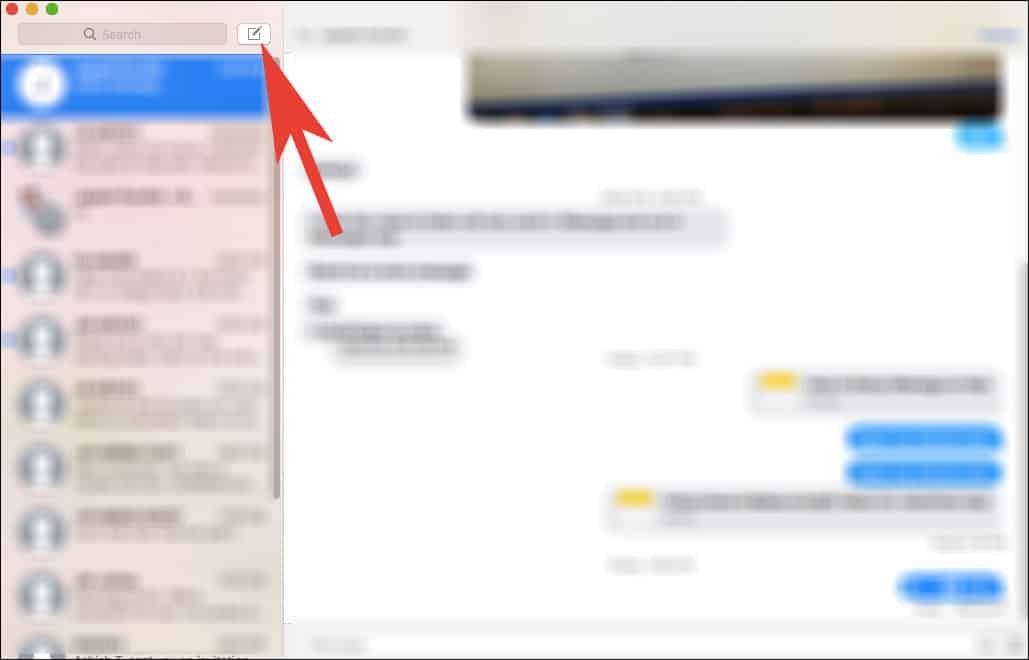
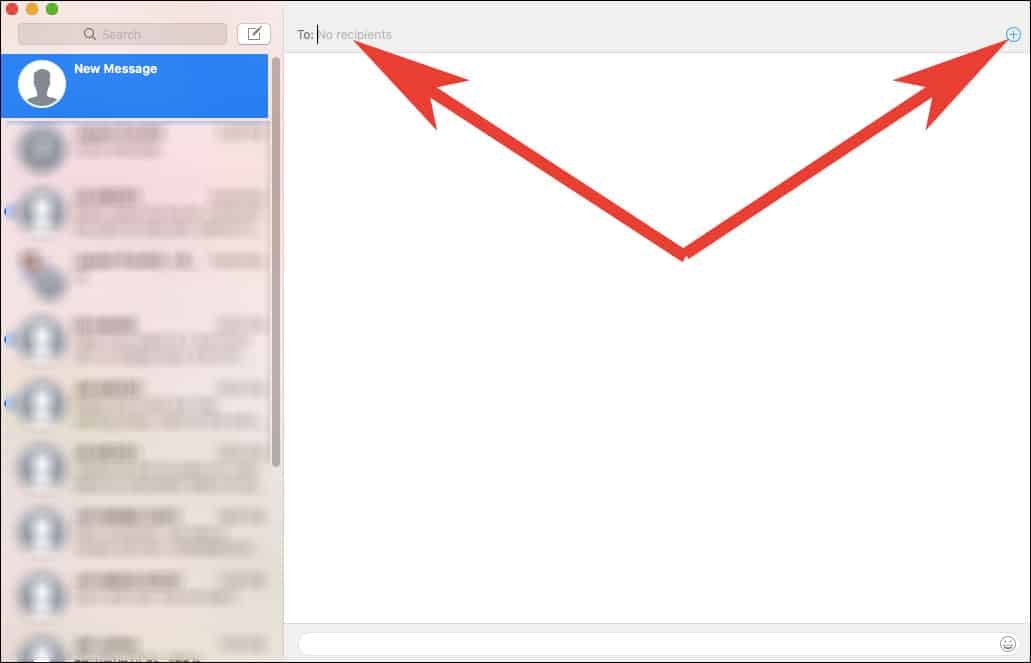
Step #1: Tap on Compose New Message icon from the top.
Step #2: Now, enter a recipient’s name or email id or Phone number. You can also click on Plus icon to find contact’s name if they are in your Contacts App.
Note: You can also start a group conversation by adding more friends to it.
Step #3: Next, type your message in the field located at the bottom of message App window.
Step #4: Just, hit Enter (Return) Key to send.
- If you want to send Emoji, click on Emoji icon which looks like a smiley face and select it by clicking on it.
- To add images or any other file, you just need to drag and drop that file to message field.
- To send Audio Message, click on voice recording icon next to Emoji and record your voice. Once your voice is recorded, click on Stop button and then hit send button.
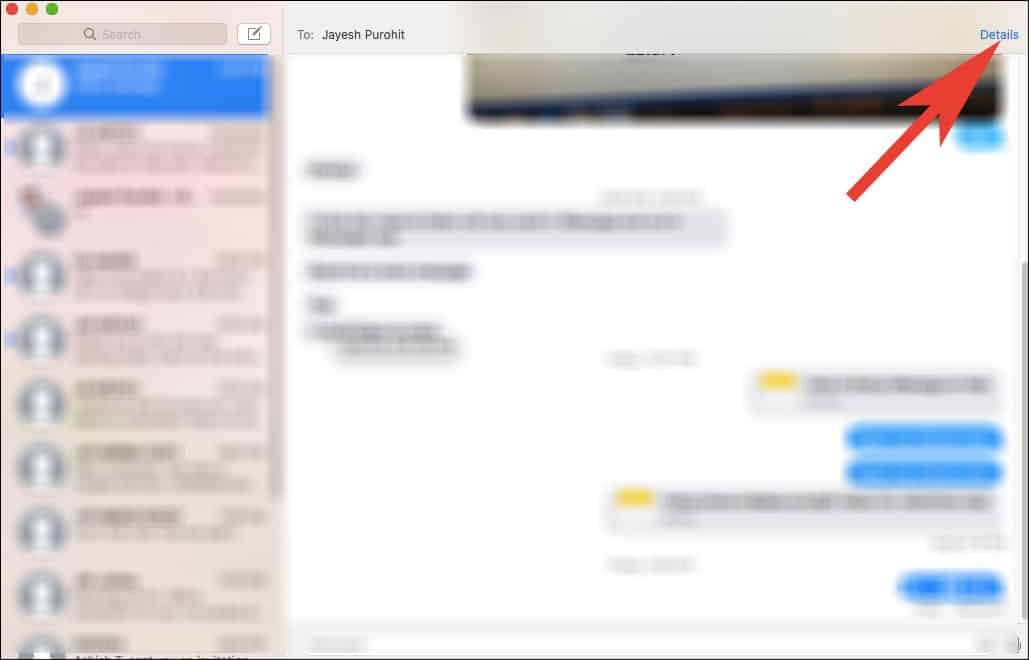
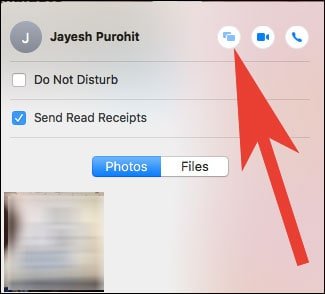
After you started a conversation, click on Details option from the corner of the message App screen.
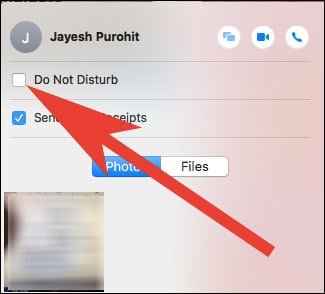
Now from here, you can select for Do Not Disturb for this conversation if you don’t want to receive notifications for this conversations.
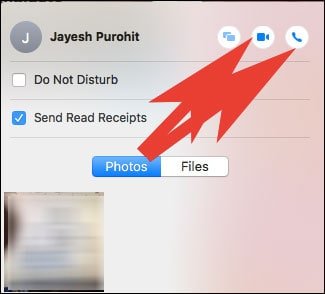
- You can also start FaceTime Audio call or Video Call by clicking on FaceTime icon.
- You can also share a screen with another Mac user.
- If the receiver is sharing his/her location, then you can also see it.
- You will be able to see all the attachments that were shared in the conversation.
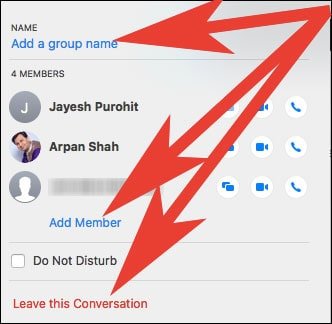
- If you are having a group conversation, then you can add a group name, add a member to a group, leave a group conversation.
- If you have four or more members in iMessage group, you can remove members by clicking on member name and then right click on it and choose Remove from conversation.
- If your mac is running on macOS Sierra, you can also use Siri to send, read and reply to a message.
How to Send Text Message from Mac
If you are a proud iPhone owner with an active mobile data plan, you can easily setup Messages to send and receive SMS and MMS from your Mac. As such messages don’t need to have the receiver using iMessage or an Apple device.
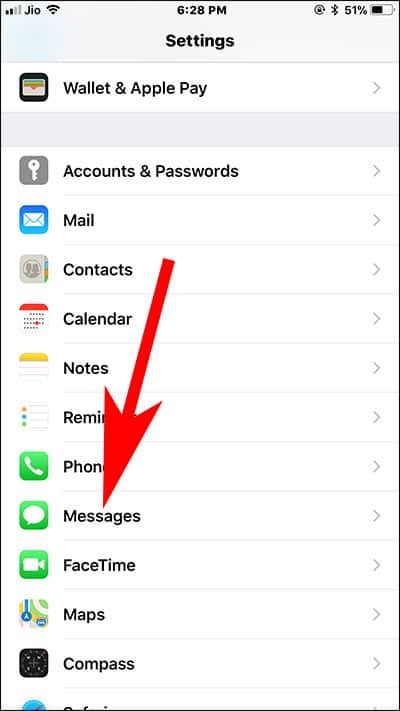
Step #1: Launch Settings App on your iPhone.
Step #2: Next, tap on Messages.
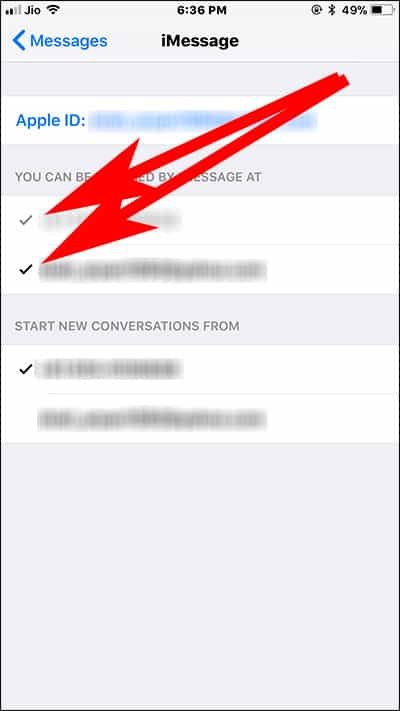
Step #3: Now, tap on Send & Receive.
Step #4: Under “You can be Reached By iMessage at“, Add a checkmark to your contact number and email id by tapping on it.
Step #5: Go back and tap on Text Message Forwarding.
Step #6: Toggle ON Switch Next to your Mac name to allow your Mac to send and receive text messages from this iPhone.
Step #7: At last, You will receive a verification code on your Mac which you need to enter on your iPhone.
That’s it!!
Also Read,
- Forgot Mac Password
- iMessage Not Working on iPhone
- How to Add and Remove Google Hangout to Messages App on Mac
- iMessage Waiting for Activation
- How to take FaceTime Live Photos on Mac
- How to Disable iMessage Popping Up on iPad and Other Devices
- How to Disable iPhone Calls on Mac and Other Devices
- Mac Keyboard Shortcuts
- How to Type Apple Logo on Mac
This eight-step guide will set up iMessage on your Mac. Isn’t it cool? Share your feedback with us on Facebook, Google Plus, and Twitter.


