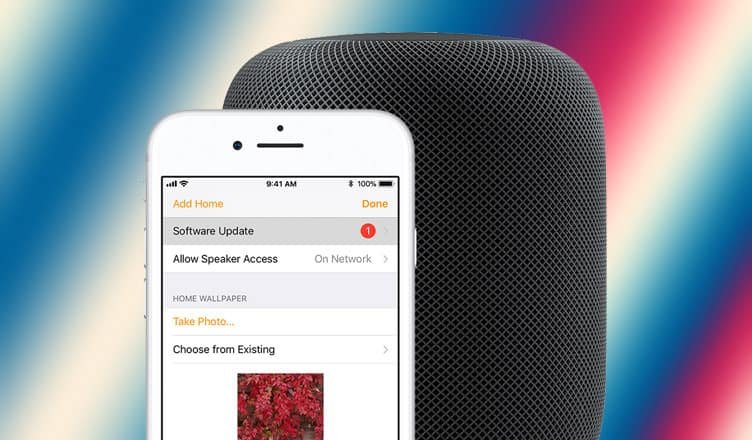
The default settings of HomePad enable this smart speaker to automatically install new software updates. However, you can change this setting and enable manual software updates. Here is how to turn off automatic software updates on HomePod.
When you disable auto updates on your HomePod, you have to use Home app to manually check the updates on your iOS device.
How to Disable Automatic Software Update on HomePod
Step #1. Launch Home app on iPhone or iPad.
Step #2. Tap on the small arrow located on the top left corner.
Step #3. Now, tap on Software Update.
Step #4. Next, simply turn off automatic software update option.
Now on, your smart speaker cannot update automatically. However, in future, if you wish to enable auto-update on HomePod, you can follow the above steps and turn automatic update on.
How to Manually Update Your HomePod
Note that you should be using the same Apple ID on your iPhone or iPad as you have used to set up your HomePod. Now jump to this post to update HomePod software manually.
This will update all HomePod speakers you have set up in your home.
That’s all friends!
You may also like to read other useful information:
- How to Reset HomePod
- How to AirPlay Music on HomePod
- How to Play Pandora, Sound Cloud and Spotify on HomePod
- How to Play Apple Music on HomePod
- How to Activate Siri on HomePod
- How to Turn Off Personal Requests on HomePod
- How to Secure AirPlay on HomePod
Summing up…
If there is one feature that sets HomePod apart from its competitors, it is excellent sound quality. What other features do you like in a HomePod? Share your feedback with us on Facebook, Twitter and Google Plus.
