Facebook is undoubtedly the most popular social media platform, where people share wonderful information in the form of text, images and videos. This media also offers people to chat with their friends. But as the time travels, we forget those memories. Some strong memories are etched on our minds, but others normally get erased from our natural hard disk.
So what is the solution? Well, you don’t need to download any third-party app for this. You can download your Facebook data from your laptop or computer. You will get a copy of what you have shared on Facebook. Follow this step-by-step information to get backup of all your Facebook data at once.
How to Download Facebook Data
Step #1: Open Facebook on browser and log in with your email id and password.
Step #2: Click on Settings (last option on the header menu).
Step #3: By default, you will be landed on General page, where you can see General Account Settings with a few options below.
Below these options, you can see a sort of instruction: Download a copy of your Facebook data.
Step #4: Click on Download a copy.
You are now on the page of Download your information.
Step #5: Click on Start My Archive.
A dialog box will appear on the screen asking you Request My Download.
Please note that this procedure will take some time as it will gather your photos, wall posts, messages, and other information. You will be asked to verify your identity in order to help protect the security of your account.
Step #6: Now click on Start My Archive.
Again a dialog box will appear on the screen for final confirmation.
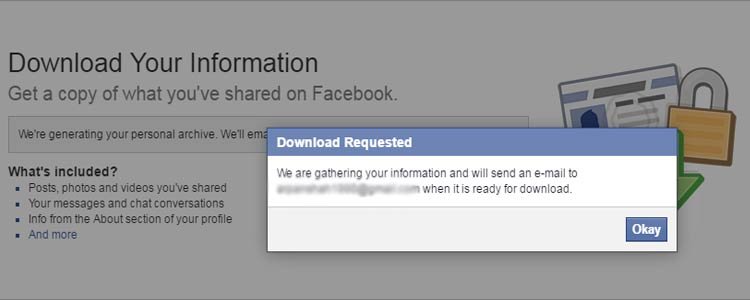
Step #7: Click OK.
Now Facebook will start generating your personal archive. Once the download is completed, you will get the information via an email you have registered on Facebook.
If you loved this tip and want to let your friends know about it, you can share it from our Facebook, Twitter and Google+ page right now!


