When DNS cache gets corrupted on your Android device, you cannot see a web page that you regularly visit on your Android phone or tablet; however, the same web page opens quickly on other devices. This is the time you need to flush DNS cache on your Android tablet or smartphone. So check this guide and clear DNS cache on Android phone.
DNS cache stores the hostnames and IP addresses of websites or web pages, so that whenever you visit the same website in future, you get quicker results. When the IP address of that website changes, there occurs some issues; to get rid of this issue, you need to clear DNS cache on Android phone or tablet.

How to Flush DNS Cache on Android Phone
Solution #1: Use Browser to Clear DNS Cache on Android
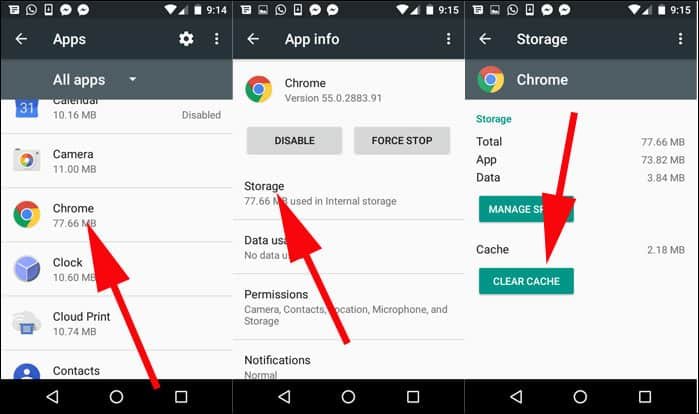
Open Settings → Applications → Application manager → Chrome (or tap any browser you are using on your Android device) → Storage → CLEAR CACHE.
Solution #2: Deleting DNS Cache in Chrome
Step #1: Open Chrome address bar on your Android device.
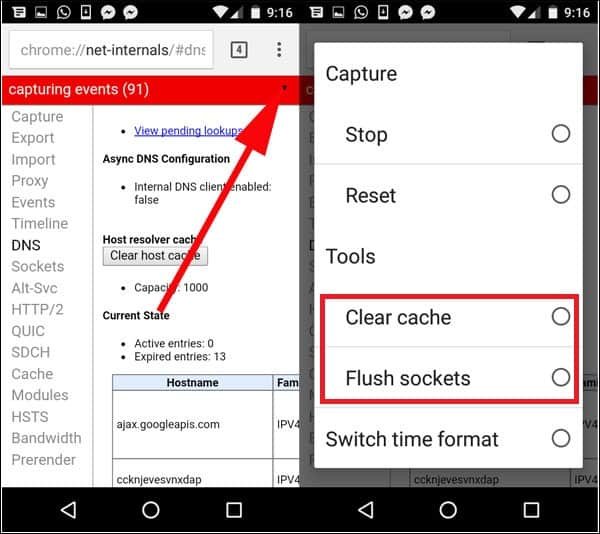
Step #2: Type in chrome://net-internals/#dns there.
Step #3: After the page loads, tap on ‘Clear host cache’ button.

Step #4: Next, you need to tap on the drop-down menu seen at the end of the red bar.
A menu will appear on the screen; there are a few options, from which you should select ‘Clear cache’ and ‘Flush sockets’.
Step #5: Finally, tap on ‘Clear host cache’ button again.
Solution #3: Use Wi-Fi to Remove DNS Cache
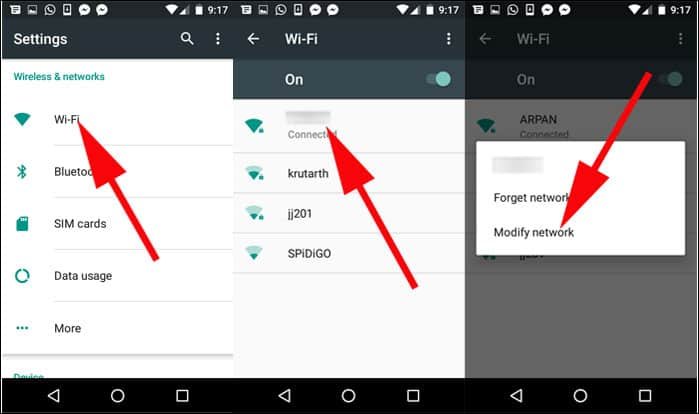
Step #1: Launch Settings on your Android device.
Step #2: Open Wi-Fi and then long press the network you want to modify DNS for.
Step #3: Tap on ‘Modify network’.
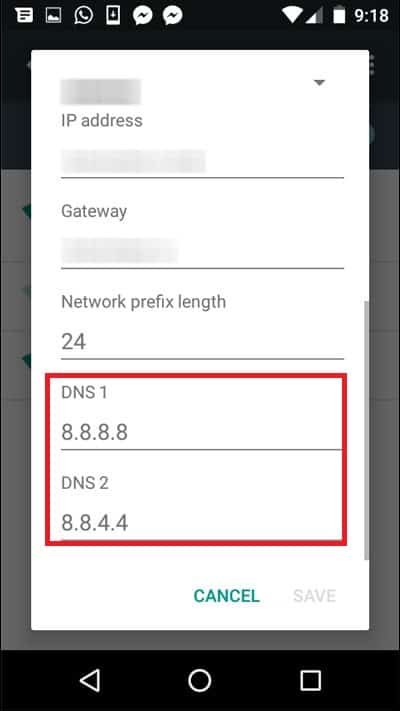
Step #4: A pop up will appear and you need to tap ‘Advanced options’.
Step #5: Select IP settings as ‘Static’.

Step #6: Now you should scroll down and feed DNS address manually. DNS 1: 8.8.8.8 and DNS 2: 8.8.4.4.
Note that you can follow the same procedure on your Android device running Nougat 7.0.
Solution #4: Change DNS Settings via Third-Party App
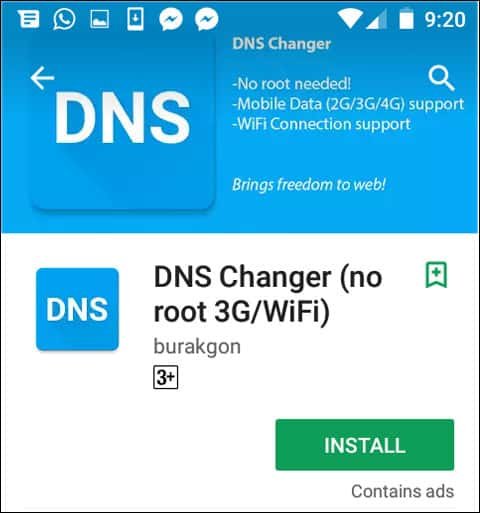
Step #1: First off, download DNS Changer (no root 3G/WiFi) on your Android device.
A glaring feature of this app is that you are not required to root your Android phone. Moreover, with this app, you can change DNS for every network to remove DNS cache issue quickly.
Step #2: After installing the app, you can select several DNS like Google DNS, Open DNS, Yandex DNS, Level3 DNS etc. to set custom DNS; and then tap Start button.
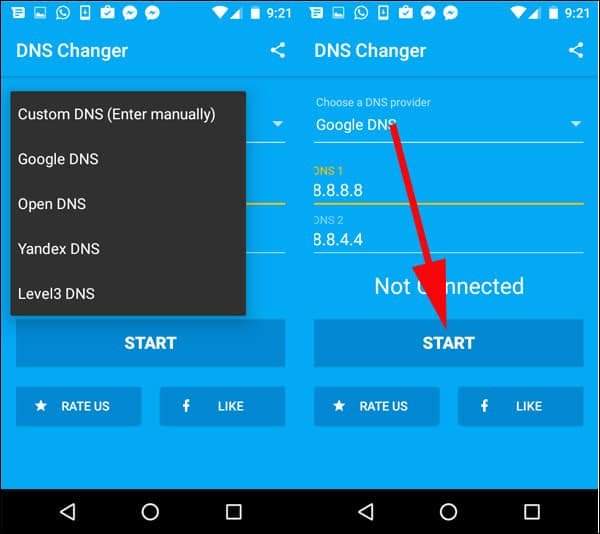
Step #3: Next, you will see a ‘Connection request’ pop-up on your phone’s screen.
Step #4: Tap on OK button and the new DNS setting is enabled on your Android phone.

That’s it! Above are the four methods to clear DNS cache on Android.
Share your feedback with us on Facebook, Twitter and Google Plus. We would also like to hear your comments; write yours in the section below.